How to Animate a Photo with AI: A Practical Beginner’s Guide
Turn a still photo into a short AI animation, choose suitable images, avoid distracting distortions and share the result thoughtfully.
· 7 min read
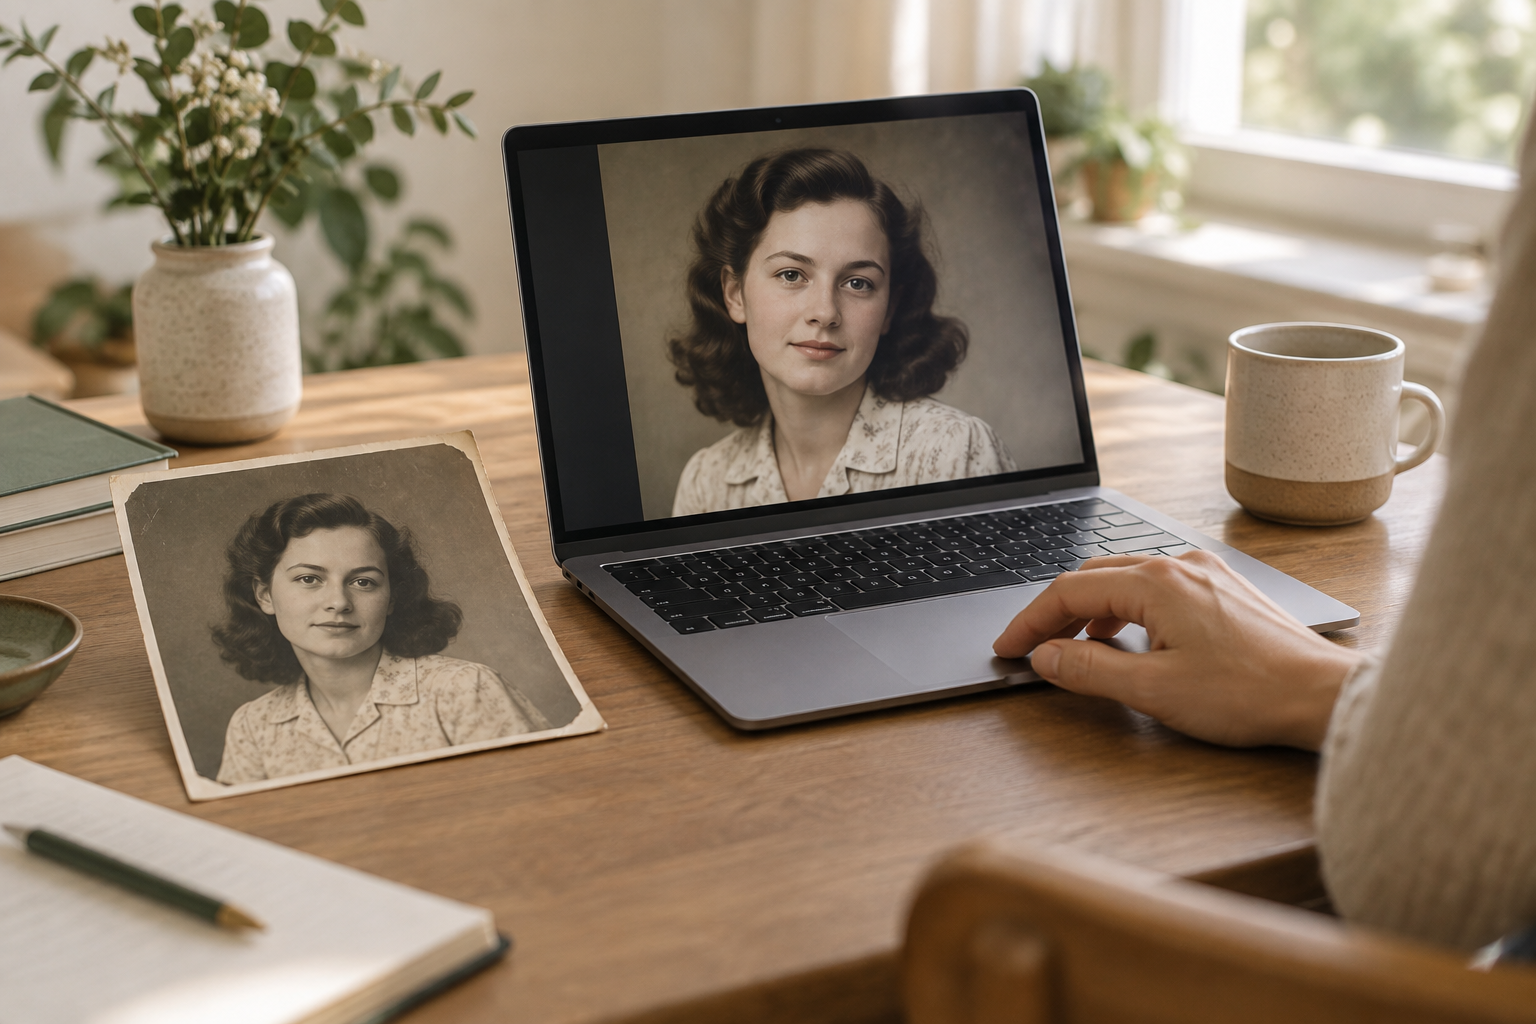
A still photograph can capture a moment beautifully, but sometimes you want a little movement: a portrait for a family slideshow, a playful social post or a visual introduction to your freelance business. The difficulty is knowing which images will animate well and how to avoid results that look distracting or unnatural. This guide explains how to animate a photo with AI, from choosing your source image to checking the finished clip. You will also learn when animation adds value, when a still image works better and how to keep your first experiment manageable.
1. Understand what AI photo animation actually does
AI photo animation turns a still image into a moving clip by generating changes between frames. Depending on the tool and image, those changes might suggest facial movement, shifting scenery or camera-like motion. The important distinction is that the system creates movement; it does not recover a recording of what happened.
That matters especially with historical portraits. An animated photograph of a relative is an interpretation, not evidence of how they smiled, looked around or held themselves. Treat it as a creative addition to the original rather than a more accurate version of it.
When animation is worth trying
A short animation can work well as an opening moment in a family presentation, a personal social post or a visual accent on a service business’s feed. It gives viewers something different to notice without requiring you to film a complete video.
It is less suitable when the image must communicate exact details. A product demonstration, for example, should not show generated movement that suggests a feature the real product does not have. Keep authentic footage for claims about how something works.
Before you start, finish this sentence: “This animation will help the viewer notice or feel ___.” If you cannot identify a purpose, the still photograph may already do the job.
2. Choose a photo that gives the animation a fair chance
Start with one clear subject and a relatively simple composition. A visible face, an uncluttered background and enough space around the subject make the result easier to assess. Busy scenes give you more details to check for unwanted changes.
A sharp source is useful, but do not confuse file size with genuine detail. A large image can still contain a blurred face. Likewise, increasing resolution cannot reveal a person’s exact original features if those features were never captured clearly.
Use this quick selection checklist:
- Choose an image you own or have permission to use and edit.
- For identifiable people, consider consent before uploading or publishing.
- Prefer a clear subject without objects covering important facial features.
- Avoid heavy blur, extreme compression and badly cropped faces.
- Keep an untouched copy of the original file.
- Decide where you intend to share the clip before spending credits.
For a damaged family photograph, restoration may be a better first step than animation. The guide to restoring old family photos explains how to approach that preparation. Compare any restored version with the original before moving on, because changing facial details at this stage can carry through into the animation.
If you are preparing client work, also check the upload service’s privacy and usage terms. Permission to publish a photograph does not necessarily cover every form of AI editing or third-party processing.
3. How to animate a photo: a simple first workflow
Treat your first attempt as a test, not a finished campaign asset. Choose one image, define the intended use and set a small experiment budget. That makes it easier to judge whether the result is worth keeping without repeatedly generating versions out of habit.
Follow these steps
- Save your source. Keep the original in a separate folder and work from a copy.
- Prepare the composition. Crop only if necessary, leaving enough room around the main subject for your intended layout.
- Upload the image. Use your chosen photo-animation tool and check its current upload requirements.
- Review the available controls. If motion instructions are supported, request a restrained result rather than several competing actions.
- Generate one test. Watch the complete clip before deciding whether another attempt is worthwhile.
- Inspect and save. Keep the version only if it preserves the important details and suits your purpose.
Where a tool accepts motion instructions, a starting brief might be: “Keep the subject recognisable, use subtle movement and avoid dramatic changes to the face or background.” This is a general example, not a promise that every tool offers prompting or will follow each instruction exactly.
Example: a family birthday slideshow
Imagine you have a scanned portrait of your grandfather standing outside his first shop. You want a short moving introduction before the slideshow switches to the original photographs.
Start with a copy of the scan and check that his face is visible. Generate a test, then examine his face, the shop window and any lettering. If the sign becomes distorted or his expression changes awkwardly, use the still image instead, perhaps with a simple pan or zoom in your video editor.
If the animation works, label it “AI-animated from a family photograph” in the slideshow. Follow it with the untouched photo so viewers can appreciate the source. The aim is a thoughtful presentation, not making the generated clip pass for historical footage.
4. Check the result before you share it
A clip can look convincing at first glance and distracting on a second viewing. Watch it at normal speed, then pause at several points. Pay particular attention to features that help people recognise the subject.
| Area to check | What to look for | What to do if it fails |
|---|---|---|
| Face and expression | Changing eye shape, teeth or identity | Reject the clip if the person looks noticeably different |
| Hands and accessories | Warped fingers, jewellery or glasses | Try another source or return to a still image |
| Background | Bending doorways, moving signs or unstable patterns | Choose a simpler composition |
| Start and finish | Abrupt changes or an awkward ending | Trim in an editor if useful, or use a different presentation |
| Message | Movement that implies something untrue | Replace it with authentic footage or a clearly labelled still |
Do not assume a short clip will loop smoothly. Watch the transition from its final frame back to its first before using it as repeating content.
For business use, review the animation in the layout where people will actually see it. A face may look fine full-screen but become too small in a crowded social post. Leave captions, logos and essential details outside the generated imagery where practical, adding them afterwards in an editor.
Be especially thoughtful with photographs of deceased relatives. Some family members may enjoy an animation, while others may find it uncomfortable. Share privately first and respect requests not to circulate it.
5. Where Pitanga Labs fits
Pitanga Labs offers Animate Photos, which turns a photograph into a five-second clip for 25 credits. It is a focused option when you already have a suitable image and want a short animated asset rather than a full video production workflow.
For black-and-white source images, Colourise & Animate Old Photos combines colourisation and animation for 28 credits. Choose this route when an interpreted colour version serves your project, not when historical colour accuracy is essential.
For a first experiment, pick the route that matches the image you actually want to share. A photograph does not need colourisation simply because it is old, and an expressive still does not automatically become better with movement.
Keep the cost of further attempts in mind. Before generating another version, identify what you would change about the source or approach. If the problem is a heavily obscured face or an unsuitable composition, choosing a different photograph may be more useful than repeating the same test.
Conclusion
Learning how to animate a photo starts with choosing a suitable image and a clear reason to add movement. Keep the original safe, treat generated motion as interpretation and check faces, backgrounds and the overall message before sharing. Your next step is simple: choose one photograph you have permission to use and test it with Pitanga Labs Animate Photos. Judge the result against your purpose, not just its novelty. If movement adds nothing, keeping the still image is a good creative decision too.
FAQ
Can I animate an old black-and-white photo?
Yes. Photo-animation tools can create movement from still photographs, including old portraits. Colourisation is a separate creative choice; generated colours and movement should not be treated as a historically accurate reconstruction.
Why does my AI-animated photo look strange?
Blur, obscured faces, complicated backgrounds and generated motion can produce distortions. Try a clearer source with one obvious subject, review any available motion controls and reject results that change important identifying details.
Can I use an animated photo for my business?
Potentially, provided you have the necessary permissions and the tool’s terms allow your intended use. Avoid misleading product demonstrations, check identifiable people’s consent and label AI-generated movement when viewers might mistake it for authentic footage.