How to Take a LinkedIn Photo at Home With Your Phone
Create a clear, approachable LinkedIn profile photo using your phone, window light and a simple setup, with optional AI finishing.
· 7 min read
On this page1 / 7
In 30 seconds
- A useful LinkedIn profile photo makes you easy to recognise and feels appropriate for the work you want.
- Start with your phone, a clean lens and somewhere stable to place it.
- Trying to get one perfect photograph often creates more tension than taking a short sequence.
You need a professional profile picture, but booking a photographer may not fit your schedule or budget. Your current photo might be a cropped wedding shot, an old office portrait or a selfie that does not quite feel right. Learning how to take a LinkedIn photo at home gives you a practical alternative without buying specialist equipment. This guide walks you through lighting, backgrounds, camera placement, expressions and editing. You will also learn when an AI headshot tool can help, what to check before using its output, and how to choose a picture that still looks like you.
1. Decide what your LinkedIn photo needs to communicate
A useful LinkedIn profile photo makes you easy to recognise and feels appropriate for the work you want. It does not need to look expensive. Aim for a clear view of your face, an uncluttered setting and an expression that feels approachable rather than forced.
Think about who will see it. A potential freelance client, hiring manager or former colleague should be able to connect the picture with the person they meet on a call. That matters more than copying the visual style of someone in a completely different profession.
Choose clothes that fit your working context
Wear something you would reasonably choose for a first meeting with a client or prospective employer. For some people, that means a jacket and shirt. For others, a plain jumper, blouse or neat T-shirt is a better match.
Solid colours are a straightforward starting point because they keep attention on your face. Avoid large logos, busy patterns and clothing that blends into the wall behind you. Keep glasses, hairstyles and other everyday features that help people recognise you.
You do not have to erase your personality to look professional. The aim is a considered version of your normal working appearance, not a costume.
2. How to take a LinkedIn photo with a simple home setup
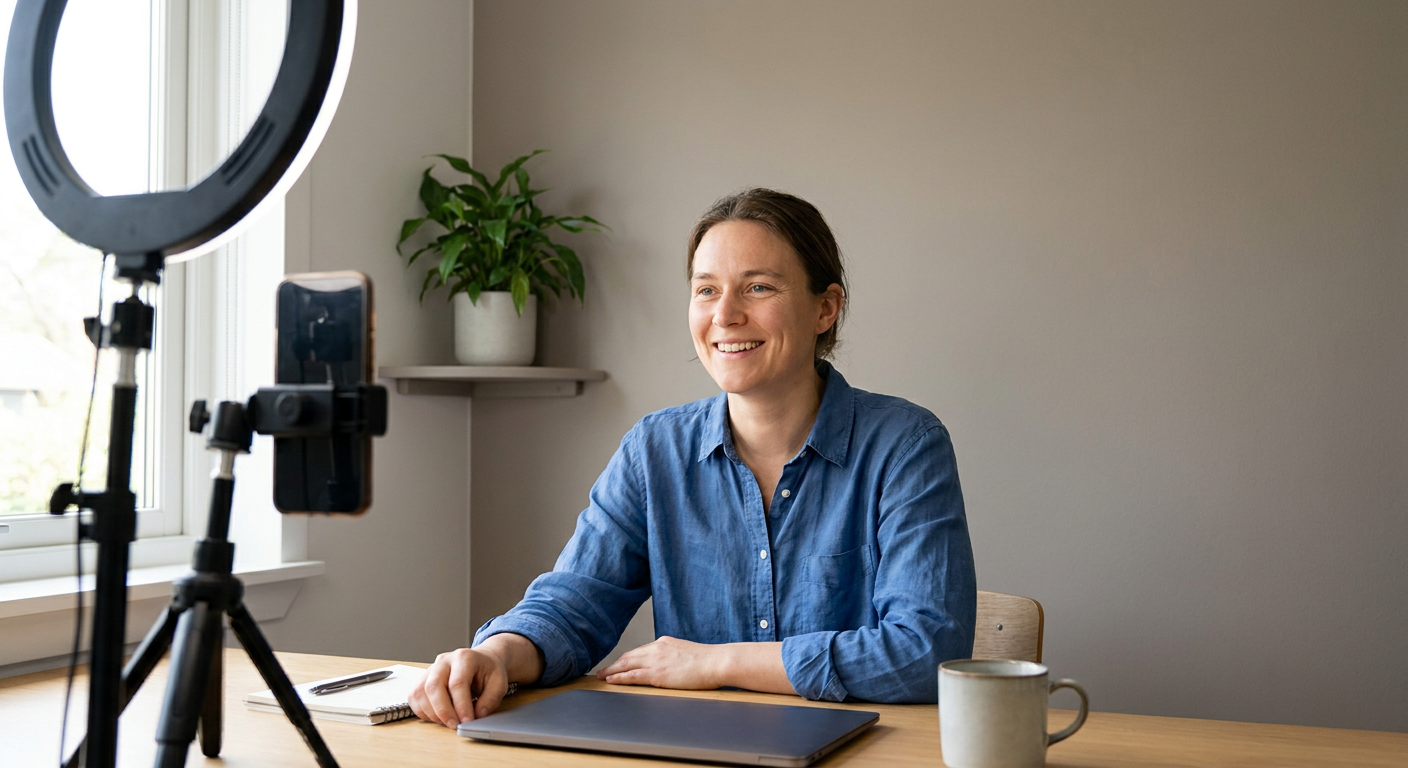
Start with your phone, a clean lens and somewhere stable to place it. A phone stand is useful, but a secure shelf or stack of books can work. Check that nothing can slide or fall before stepping into position.
Use these setup choices as a starting point, then adjust what you see on screen.
| Element | Practical starting point | What to avoid |
|---|---|---|
| Light | Face a window with soft daylight | A bright window directly behind you |
| Background | Plain wall or tidy, quiet corner | Clutter, visible paperwork or distractions |
| Camera height | Lens roughly level with your eyes | A low angle looking up your nose |
| Distance | Move back and leave room to crop | Holding the phone very close to your face |
| Framing | Include your head, shoulders and some space | Cutting off your hair or chin |
Find flattering light before changing settings
Stand facing a window and look at the preview. If sunlight creates hard shadows or makes you squint, move out of the direct beam or try a different time of day. A light curtain can soften strong daylight.
If one side of your face is much darker, turn slightly towards the window. Switch off nearby lamps if their colour looks noticeably different from the daylight. You are looking for even, comfortable illumination, not a dramatic studio effect.
Keep the camera at a sensible distance
Close-up selfies can exaggerate whichever features are nearest the lens. Place the phone farther away and crop afterwards, while keeping enough detail for a clear result. Avoid an ultra-wide lens for a tight face portrait.
Use the rear camera if you can frame yourself reliably with help or a few test shots. The front camera is also workable in good light. Choose the option that lets you keep the phone stable and your face in focus.
3. Capture a small set of natural expressions
Trying to get one perfect photograph often creates more tension than taking a short sequence. Start with a few test frames to check the setup, then focus on your expression rather than inspecting every picture immediately.
Follow this simple shooting checklist:
- Clean the lens and turn off beauty filters.
- Position the phone securely at eye level.
- Take a test shot and check focus, light and background.
- Relax your shoulders and turn your body slightly if that feels natural.
- Look towards the lens, not your own image on screen.
- Use the timer and take several shots with small expression changes.
- Review the pictures at full size before putting the setup away.
A smile can work well, but it should not look strained. Try a gentle smile, a broader smile and a relaxed neutral expression. Between shots, breathe out and release your jaw instead of holding a pose continuously.
Example: a freelance bookkeeper updating their profile
Imagine a freelance bookkeeper whose existing picture is cropped from a busy networking event. Their face is partly in shadow, and another person's shoulder remains visible. They want a cleaner image for LinkedIn and introductory emails.
They choose a plain shirt, stand against a light wall and place their phone beside a window at eye level. After checking a test shot, they move away from direct sunlight and use the timer. The improvement comes from visibility and a deliberate setup, not from making themselves look like someone else.
If every shot feels stiff, ask someone you trust to stand near the phone and chat with you. A brief conversation can help you settle into a more natural expression.
 Related guideHow to take a LinkedIn headshot at home
4. Choose, crop and edit without losing your likeness
Pick your strongest photograph before you start editing. Prioritise sharp eyes, a comfortable expression and a clear face. A slightly imperfect strand of hair is usually less distracting than a blurry image or an obviously artificial smile.
Compare your shortlist at a small size as well as full screen. LinkedIn photos often appear as small circular thumbnails, so a picture that looks good enlarged may leave your face too tiny in everyday use.
Leave room for the circular crop
Prepare a square version with your face near the centre and enough space around your head. Preview the circular crop before saving it on your profile. Make sure your hair, chin and shoulders are not awkwardly cut off.
There is no need to chase a specific camera resolution when the original is already sharp and clear. Avoid repeatedly saving compressed copies or taking screenshots of the image, which can reduce quality.
Make restrained adjustments
Small changes to brightness, colour balance and cropping can help. Keep skin texture believable, and check that your face has not become unusually orange, grey or pale. If you use portrait-mode background blur, inspect the edges around hair, ears and glasses.
Do not upload an image you would struggle to recognise as yourself. A useful final question is: “Would someone meeting me tomorrow recognise me easily from this picture?”
Once the photo is ready, check that the rest of your profile looks consistent. These LinkedIn banner ideas for freelancers can help you create a complementary header without crowding it with information.
5. Where Pitanga Labs fits
Sometimes you have a clear source photo but want an alternative to your home setting or a more polished headshot style. The Pitanga Labs AI LinkedIn Headshot Generator creates professional headshots from one photo and is available on Pro and Elite plans.
It can help you explore a professional-looking option without organising another shoot. Start with a well-lit, recent image that clearly shows your face, then treat the generated result as a candidate to review—not an automatic replacement for your original.
Check facial proportions, hair, skin tone, glasses and clothing details. AI-generated images can introduce inconsistencies, so reject anything that changes your identity or looks unnatural. Compare the result with your straightforward phone portrait at thumbnail size before deciding which serves your profile better.
You can review Pitanga Labs pricing before choosing a plan. If your phone photo already does the job, there is no need to add another step: clarity and recognisability are the priorities.
Conclusion
A good LinkedIn photo starts with soft light, a quiet background and a camera positioned at eye level. Take several relaxed shots, choose the clearest expression and keep editing restrained. You do not need a studio look to present yourself thoughtfully. Set aside a short session today, use the checklist above and compare your shortlist at thumbnail size. If you want an AI-generated alternative, review it carefully against your real appearance before making it your public profile picture.
FAQ
Can I use a selfie as my LinkedIn photo?
Yes, provided it is sharp, well lit and appropriately framed. A timer and stable phone position can help avoid the close-up distortion and visible arm associated with handheld selfies.
What should I wear for a LinkedIn headshot?
Choose clothes that suit a first meeting in your field. Plain colours are an easy starting point. Wear something comfortable and recognisably you rather than dressing for an unrelated profession.
Is an AI headshot suitable for LinkedIn?
It can be, if it accurately represents you and looks natural. Check for altered facial features, artificial skin and inconsistent details. Use a recent real photograph instead if the generated version does not preserve your likeness.
Was this guide useful?
Your answer shapes which guides we write next.
Keep it in your dashboard
Sign in to save this guide, add it to a learning path or turn it into a checklist.
Sign inShare this guide
Discussion
Sign in to join the discussion.