How to Photograph Jewellery for Selling Online: A Budget-Friendly Guide
Take clearer jewellery photos with your phone, simple lighting and careful editing, so customers can judge colour, detail and scale.
· 7 min read
On this page1 / 7
In 30 seconds
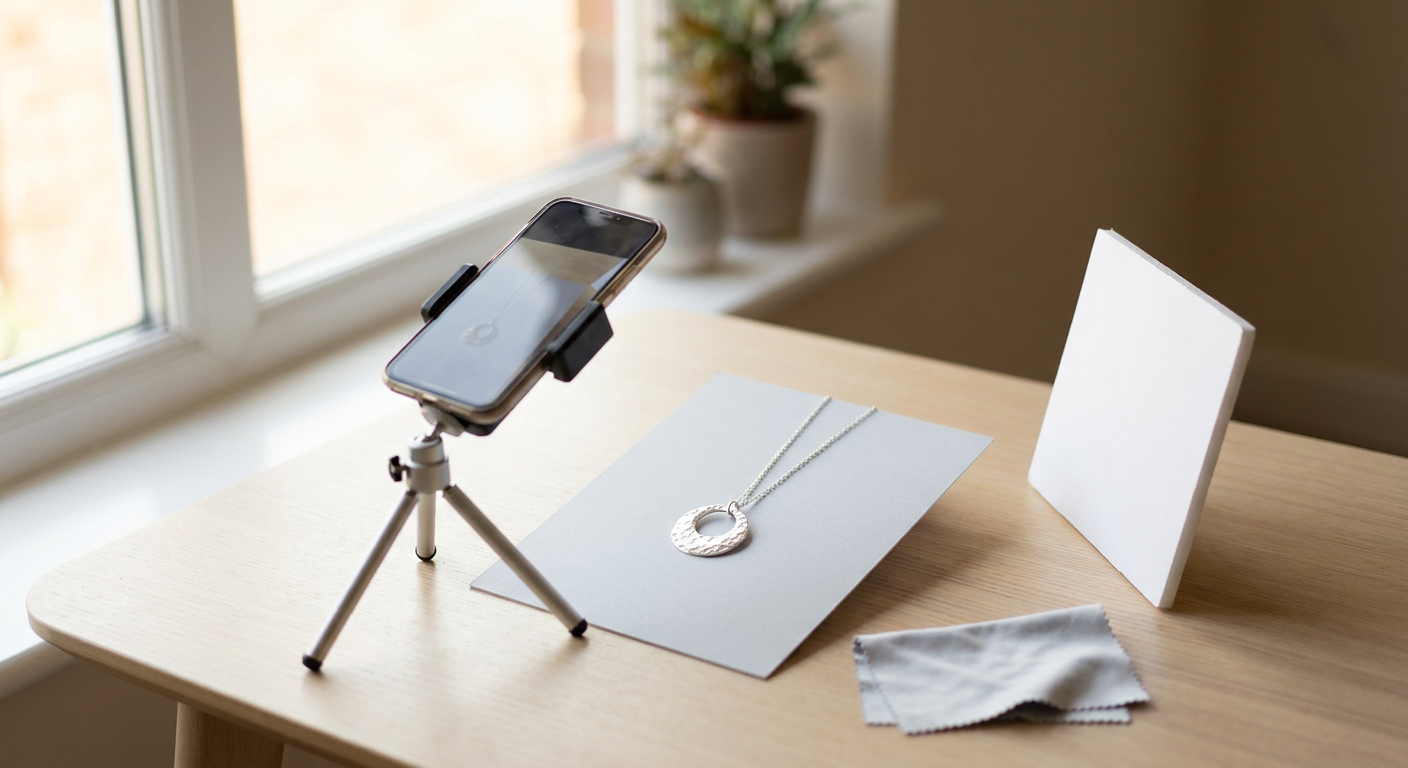
- Start with what you already have: a smartphone, a table near a window, plain card and something stable to hold your phone.
- Place the jewellery on your background near the window, then position the phone so it does not block the light.
- A beautiful image attracts attention, but a useful set of images helps customers understand what they are buying.
Small jewellery pieces can create big photography problems. Polished metal reflects your phone, stones lose their sparkle, and a delicate chain can disappear against the background. When you sell online, those images need to answer questions customers would normally resolve by picking up the piece.
This guide explains how to photograph jewellery for selling online without building an expensive studio. You will learn how to arrange a simple phone setup, control reflections, choose useful listing shots and edit without misrepresenting your products. Whether you make earrings or resell vintage necklaces, the aim is a repeatable process that produces clear, trustworthy photographs.
1. Build a simple jewellery photography setup
Start with what you already have: a smartphone, a table near a window, plain card and something stable to hold your phone. Buying a camera will not automatically solve poor lighting or distracting backgrounds.
Choose a window with indirect daylight rather than a patch of direct sun. Turn off nearby indoor lights if they create a different colour cast. Mixed lighting makes it harder to show silver, gold and coloured stones consistently.
Choose a background that supports the piece
Matte white, pale grey or neutral cream card makes a useful starting point. Avoid strongly coloured surfaces that can reflect onto polished metal. Glossy backgrounds introduce another set of reflections to manage.
White is not always the clearest choice. A fine silver chain may show up better against light grey, while a pale gemstone might need slightly more contrast. Check your selling platform's image requirements before deciding on your main listing background.
Keep these basics together in a small photography kit:
- Plain background card and a second piece of white card to reflect light.
- A phone stand or stable support.
- A clean microfibre cloth suitable for the item.
- A simple jewellery stand or discreet support.
- A ruler for a separate scale photograph.
Clean your phone lens before you begin. Remove fingerprints from jewellery using a method appropriate to its materials; delicate stones, coatings and vintage finishes may need specialist care.
2. How to photograph jewellery for selling online with a phone
Place the jewellery on your background near the window, then position the phone so it does not block the light. Put your spare white card opposite the window to bounce light into darker areas.
Think of polished metal as a tiny mirror. If you can see your phone or a dark room reflected in a ring, changing the camera angle or surrounding surfaces often helps more than increasing brightness.
Control reflections before changing settings
Move the jewellery slightly, turn the stand or raise the phone. Small changes can remove a harsh reflection while preserving the shape of the piece.
If sunlight is too strong, use a sheer curtain to soften it or wait until the light becomes indirect. Avoid trying to fix a completely white, blown-out highlight later: the original photo may not contain usable detail in that area.
Some reflections are useful. A soft highlight helps customers understand a curved band or polished surface. The goal is controlled reflections, not making metal look flat and lifeless.
Focus on the detail customers need
Use your phone's standard photo mode first. Tap the jewellery to set focus, then adjust exposure if your camera allows it. Reduce exposure slightly when bright metal loses its surface detail.
Avoid digital zoom where possible. Move closer while checking that the camera can still focus, or photograph from a little farther away and crop modestly. If your phone switches automatically into a macro mode, compare the result with the standard camera rather than assuming it is better.
Use a timer with the phone supported to reduce movement. Inspect the result at full size: a photo can look sharp on a small preview while the clasp or stone setting is blurred.
3. Plan listing photos that answer buying questions
A beautiful image attracts attention, but a useful set of images helps customers understand what they are buying. Include views that explain construction, size and condition rather than several nearly identical angles.
| Photo | What it should show | Practical tip |
|---|---|---|
| Main image | The complete item clearly | Keep props minimal and leave space around the edges |
| Alternate angle | Depth, profile or shape | Turn the item rather than making a tiny crop change |
| Detail image | Setting, texture, clasp or fastening | Focus on the feature being described |
| Scale image | How large the piece actually is | Use a ruler or a clearly explained worn view |
| Reverse or condition image | Back, marks, wear or imperfections | Keep relevant details visible and in focus |
| Packaging image | What the customer receives | Show only packaging included with the purchase |
For earrings, show both the front and fastening. For a pendant, include the chain and clasp if they are part of the sale. For a ring, show the band profile as well as the stone or decorative face.
A worn photo can help explain proportion, but perspective can exaggerate size. Pair it with written measurements and, where useful, a ruler photo. Obtain permission from anyone appearing in your images and avoid identifiable personal details in the background.
Example: a handmade pendant listing
Imagine you sell a small hammered silver pendant. Your main image shows the complete necklace against grey card, while a closer photograph reveals the hammered texture.
A third image shows the clasp, and a fourth places a ruler alongside the pendant. A final worn image explains where it sits when paired with the stated chain length. Each photograph adds information instead of simply filling another image slot.
 Related guideHow to Make a Transparent Background for Product Photos
4. Edit for accuracy and use a repeatable workflow
Good product photo editing removes distractions without changing the product. Start with crop, rotation, exposure and white balance. Compare the edited image with the actual jewellery under neutral lighting.
Pay particular attention to metal tone and gemstone colour. Increasing warmth might make silver appear gold-toned, while heavy saturation can make a pale stone look more vivid than it is. Different screens will still vary, so avoid promising an exact screen-to-product colour match.
Remove stray background dust only when it is clearly separate from the item. Do not erase scratches, reshape a setting or smooth away surface wear that customers should know about. For vintage jewellery, condition photographs are part of an honest description.
A practical batch workflow
- Prepare the pieces. Check condition, clean appropriately and record measurements.
- Set one lighting arrangement. Mark the positions of the background, stand and phone.
- Photograph one complete item. Capture every planned view before moving on.
- Review immediately. Check focus, reflections and missing angles while the setup is ready.
- Edit a copy. Preserve originals and apply restrained adjustments consistently.
- Export and inspect. Follow the platform's current file requirements and preview the listing on mobile.
Use descriptive filenames such as hammered-silver-pendant-clasp.jpg to keep files organised. Save separate listing and social-media crops so you do not repeatedly overwrite the same image.
If you are photographing side-business stock alongside employment, check your employer's policies and keep the work separate from company time, equipment and accounts. A small permanent kit makes it easier to work efficiently within your own available time.
5. Where Pitanga Labs fits
Once you have an accurate, sharply focused photograph, Pitanga Labs can help with specific finishing tasks. Use the tools to improve presentation, not to invent product details or disguise condition.
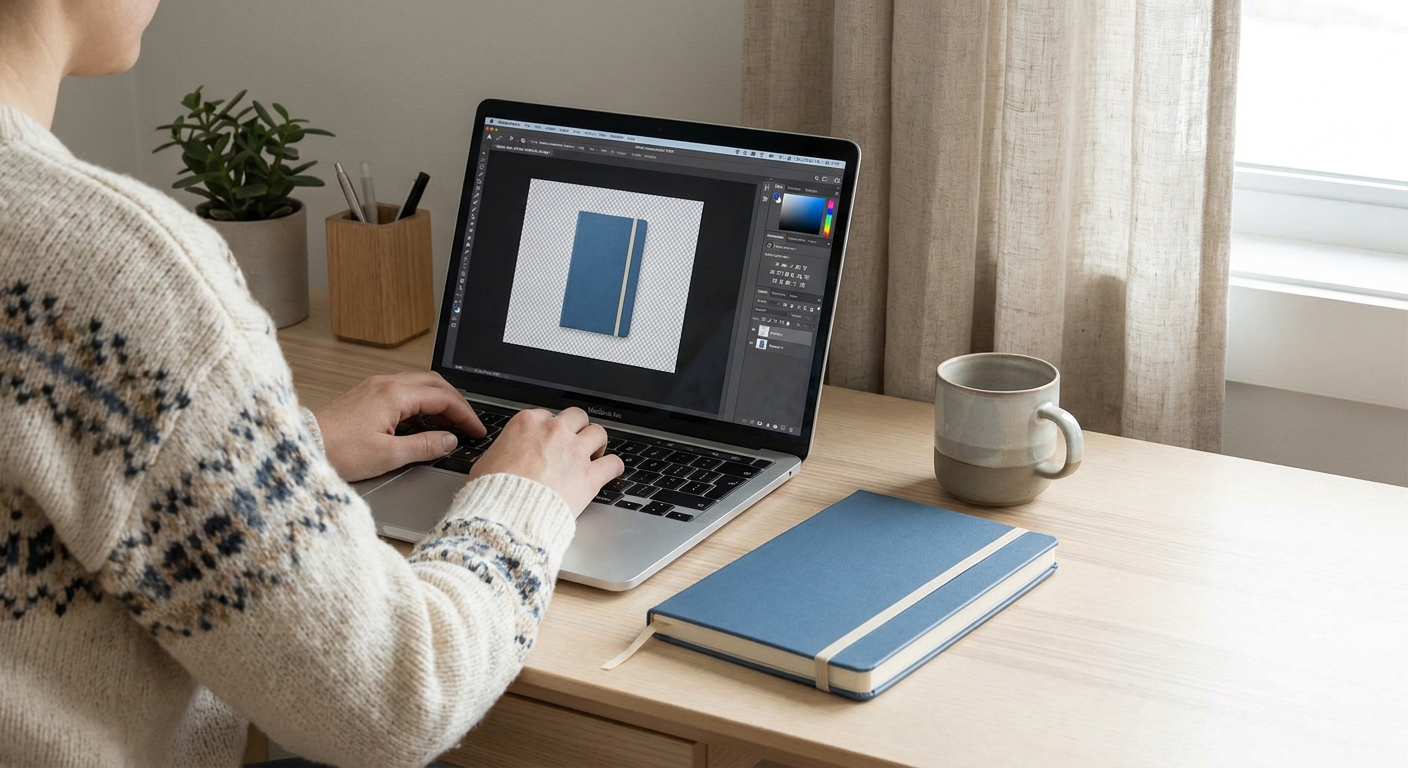
The Remove Background from a Photo tool produces transparent PNG cut-outs. This can help when your tabletop background distracts from the jewellery or when you want to place a cut-out onto a consistent background in your usual editor.
Inspect fine chains, earring hooks and gaps around settings carefully after removal. Reflective and translucent objects can be difficult to separate cleanly, so keep the original and reject any result that removes part of the piece. The guide to removing the background from a product photo offers a related workflow.
The AI Image Upscaler offers 2x or 4x enlargement and batches of up to five files. It can help prepare a larger version of a usable image, but enlargement does not prove that reconstructed detail is accurate. Check hallmarks, engraving and stone edges against the original; reshoot when important detail is missing.
Conclusion
Clear jewellery photography starts with controlled light, stable focus and views that answer practical buying questions. A phone and a simple background can be enough to build a consistent process, provided you inspect each image and keep colours and condition honest.
Start with one item today: capture the complete piece, an alternate angle, a detail and a scale image. Then decide whether background removal or upscaling solves a genuine presentation problem. Improve the original photograph first, and use editing to support accuracy rather than replace it.
FAQ
Can I photograph jewellery for selling online with my phone?
Yes. Use indirect daylight, a stable phone support and a clean lens. Check sharpness at full size, especially around settings, clasps and engraving, before uploading.
What is the best background for jewellery photography?
A plain, matte neutral background is a useful starting point. Choose enough contrast to show the piece clearly, and follow your marketplace's rules for main listing images.
How do I stop reflections when photographing jewellery?
Soften the light and adjust the angle of the jewellery, phone or surrounding white card. Aim to remove distracting reflections while keeping enough highlight to show the metal's shape.
Was this guide useful?
Your answer shapes which guides we write next.
Keep it in your dashboard
Sign in to save this guide, add it to a learning path or turn it into a checklist.
Sign inShare this guide
Discussion
Sign in to join the discussion.