How to Increase Image Resolution for Printing Without Disappointing Results
Work out whether your photo can print clearly, choose sensible enlargement settings and check AI-upscaled images before paying for prints.
· 7 min read
On this page1 / 8
In 30 seconds
- Image resolution starts with pixel dimensions: the width and height of your image in pixels.
- Start with the best available source.
- Do not upscale a photo before deciding where it will go.
You have a photo that looks sharp on your phone, but the print preview says its resolution is too low. Perhaps it is a product shot for a market-stall sign, a portrait for a flyer or a family picture you want to frame. Learning how to increase image resolution for printing can help you avoid a soft, disappointing result.
This guide explains how to check the pixels you already have, calculate a sensible print size and decide whether AI upscaling is worth trying. You will also learn what enlargement cannot fix and how to inspect the result before spending money on printing.
1. Understand what makes an image print clearly
Image resolution starts with pixel dimensions: the width and height of your image in pixels. A file measuring 1,200 × 1,800 pixels contains less image information than one measuring 2,400 × 3,600 pixels, even if both look similar on a small screen.
Printing spreads those pixels across a physical area. The bigger the print, the fewer pixels you have available for each inch, unless you enlarge the digital image first.
PPI is not the same as DPI
Pixels per inch, or PPI, describes how densely your image pixels fit into the printed size. Dots per inch, or DPI, describes a printer's output, although upload forms and editing software sometimes use the terms loosely.
For detailed prints viewed close up, 300 PPI is a common working target, not a universal requirement. Larger signs viewed from further away may look acceptable at lower densities. Your print provider's specifications should take priority.
Use this calculation:
Pixels required = print size in inches × target PPI.
For example, an 8 × 10-inch image at 300 PPI needs 2,400 × 3,000 pixels. That is a calculation, not a guarantee of sharpness: an out-of-focus image can have those dimensions and still look blurry.
Simply changing a file's resolution label from 72 to 300 without resampling does not create detail. It changes how the existing pixels relate to the requested print size.
2. Check your original before increasing image resolution for printing
Start with the best available source. A photo downloaded from a messaging app, copied from a website or captured as a screenshot may have fewer pixels than the original camera file.
Look in your phone's photo information panel or your computer's file properties for the image dimensions. Also check whether you have the original elsewhere: a camera card, cloud library or previous project folder.
File size alone is not a reliable quality test. A large file can contain blur, while a well-compressed image can still have enough pixels for its intended print size.
Before choosing an enlargement method, identify the actual problem:
| What you notice | Likely issue | Useful next step |
|---|---|---|
| The picture looks clear but has small pixel dimensions | Too few pixels for the requested size | Try upscaling and inspect the result |
| The subject looks smeared or out of focus | Blur in the original | Find a sharper source or print smaller |
| Square blocks appear around edges | Heavy compression | Locate a less-compressed original |
| A logo or lettering looks jagged | Raster artwork being enlarged | Ask for the original vector artwork |
| The preview cuts off part of the subject | Print shape does not match image shape | Adjust the crop or add borders |
If you own the subject and can photograph it again, a better original may be quicker than repairing a poor file. This is particularly useful for products, where accurate colours, textures and edges matter more than an apparently sharper finish.
3. Choose the print size and crop first
Do not upscale a photo before deciding where it will go. An image for a small flyer has different needs from one covering a shop-window poster.
Ask your printer for the finished dimensions, required image resolution, bleed and accepted file format. Bleed is the extra image area beyond the trim edge; its requirements depend on the job.
Next, check the aspect ratio, which is the relationship between width and height. A square image will not fill a rectangular space without cropping, stretching or adding borders. Avoid stretching because it changes the proportions of people and products.
Example: a product photograph for a stall sign
Imagine a maker has a clear 1,200 × 1,500-pixel photograph and wants it printed at 8 × 10 inches. The image and print share the same proportions, so no crop is needed.
At that size, the original provides 150 PPI: 1,200 divided by eight. A 2x upscale would produce 2,400 × 3,000 pixels, meeting a 300 PPI target for that image area.
However, the enlarged file still needs inspection. AI may make woven fabric, engraved lettering or packaging details look different from the actual product. More pixels do not automatically mean more accurate information.
If your design includes a business name, price or contact details, add those separately in your layout software rather than relying on text inside the photograph. Keep lettering editable or vector-based where possible.
4. Upscale once, then inspect the details
AI image upscaling generates additional pixels using patterns inferred from the source. It can help an enlargement look cleaner, but it cannot reliably recover information that was never captured.
Use the smallest enlargement that meets your needs. A 4x version is not automatically better than a 2x version, and repeatedly enlarging an enlarged file can compound odd textures and edge artefacts.
Follow this short workflow:
- Save an untouched copy of the original.
- Crop to the intended print shape, keeping required bleed in mind.
- Calculate the pixel dimensions needed for the image area.
- Choose a suitable enlargement, such as 2x or 4x.
- Compare the output with the original at 100% zoom.
- Place it in the final layout and check the printed size.
- Order a proof or print a representative section before a larger run.
At 100% zoom, each image pixel is displayed as one screen pixel. This helps reveal processing problems, although it does not precisely simulate the physical print.
Inspect faces, hair, jewellery, foliage and repeating patterns. Watch for waxy skin, doubled edges, bright outlines and textures that look painted rather than photographed.
For commercial work, check every visible label and product feature. Reject an output that changes an item's appearance, even if it looks more polished. Keep permission and privacy in mind when uploading photographs of customers or other people.
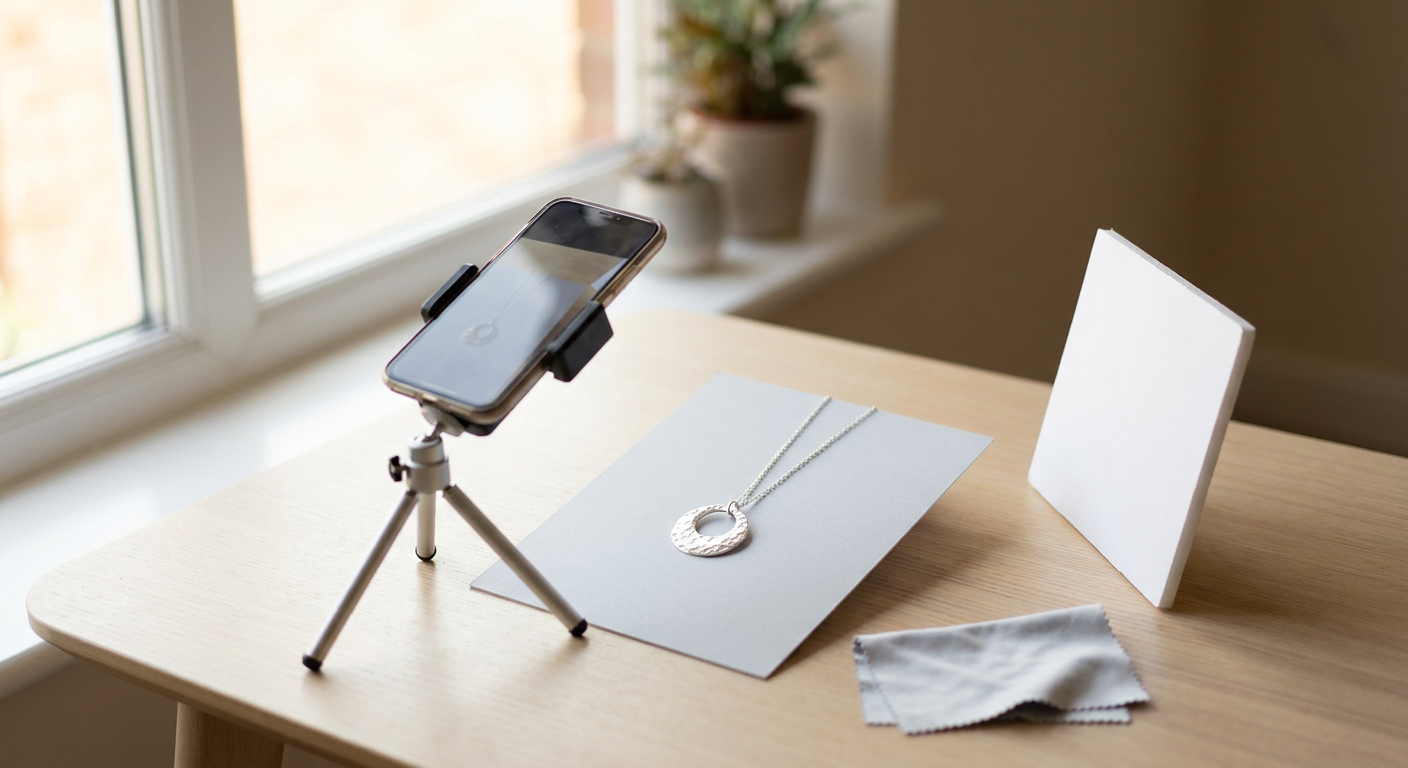 Related guideHow to Photograph Jewellery for Selling Online: A Budget-Friendly Guide
5. Where Pitanga Labs fits
The Pitanga Labs AI Image Upscaler offers 2x or 4x enlargement and supports batches of up to five files. That makes it useful when you have several selected photographs to prepare for flyers, signs or printed portfolios.
The practical benefit is a straightforward enlargement step after you have worked out your target dimensions. For the stall-sign example, you could try 2x, then compare the resulting product details against the original before adding it to the design.
Batch processing can help with a small set of images, but review each result individually. A setting that suits a simple portrait may treat fine fabric or lettering less successfully.
If your layout also needs an isolated product, the guide to making a transparent background for product photos covers that separate preparation task. Neither background removal nor enlargement replaces the final print check.
6. Check the exported file, not just the editor
An image can look good inside your design software and still leave the export with reduced resolution. Check export settings for image compression or downsampling, and follow the printer's requested format.
Reopen the exported file and inspect the crop, borders and text. Confirm that your photograph still occupies the intended physical area rather than having been stretched to fill the whole page.
Colour and brightness also deserve a check. Screens emit light, while paper reflects it, so prints may look different from a bright display. Avoid making major colour adjustments solely to compensate for an unusually bright monitor; ask your printer about proofing and colour requirements instead.
For a larger print order, approve a physical proof when available. A small test showing the most detailed part of the image can reveal softness or artificial textures before you commit to the full job.
Conclusion
Clear printing starts with the best original, a defined print size and enough pixels for the job. AI upscaling can help when an otherwise useful photo is too small, but it cannot guarantee accurate missing detail or rescue every blurry image.
Choose one photograph, calculate its target dimensions and try the smallest enlargement that meets them. Then inspect the details and make a test print. If your source needs more pixels, try the Pitanga Labs AI Image Upscaler as that next preparation step.
FAQ
Can I convert a 72 DPI image to 300 DPI for printing?
Yes, but changing the resolution label alone adds no detail. Check the pixel dimensions and intended print size first. You may need to resample or upscale the image, or choose a smaller print.
Does AI upscaling fix blurry photos?
It may improve apparent sharpness, but strong blur can remain and generated details may be inaccurate. A sharper original or smaller print is often the safer option.
Should I save an upscaled image as JPEG or PNG?
Follow your printer's requirements. A high-quality JPEG often suits photographs; PNG avoids lossy compression and supports transparency. Neither format fixes a poor source image.
Was this guide useful?
Your answer shapes which guides we write next.
Keep it in your dashboard
Sign in to save this guide, add it to a learning path or turn it into a checklist.
Sign inShare this guide
Discussion
Sign in to join the discussion.