How to Make a Transparent Background for Product Photos
Turn product photos into reusable transparent PNGs, avoid messy edges, and prepare honest, consistent images for your shop and marketing.
· 7 min read
On this page1 / 7
In 30 seconds
- A transparent background contains no visible colour behind the subject.
- Start with one uncomplicated product rather than your entire catalogue.
- Background removal should change the surroundings, not what the buyer believes they are purchasing.
A product photo looks fine on your phone, but the kitchen table behind it makes your online shop feel inconsistent. Cropping helps only so much, and photographing everything again is not always practical. Learning how to make a transparent background gives you another option: separate the product from its surroundings and reuse it across different layouts.
This guide explains how to choose a suitable photo, remove the background, check tricky edges and export a file that stays transparent. You will also learn when a cut-out helps, when it can mislead buyers, and how to build a repeatable workflow without buying a studio setup.
1. Understand what a transparent background actually does
A transparent background contains no visible colour behind the subject. Instead of a product sitting inside a white rectangle, you have a cut-out that can sit over another colour, image or design.
That distinction matters when your website uses a cream background or your promotional graphics use brand colours. A white-background image will still show its rectangular border; a transparent image can blend into the surrounding layout.
Transparent is not the same as white
An image viewer may display transparency as white, black or a grey checkerboard. Those displays do not necessarily form part of the saved image. To confirm that a background is transparent, place the image over a coloured surface in an editor that supports transparency.
For a straightforward product-photo workflow, export as PNG with transparency preserved. JPEG does not support transparency, so saving a cut-out as JPEG requires a solid background instead.
| Image version | Useful for | What to watch |
|---|---|---|
| Transparent PNG | Reusing a product in shop graphics and layouts | Edge mistakes can become visible on different backgrounds |
| White-background image | Listings that require or suit a plain white setting | White is an actual background, not transparency |
| Original lifestyle photo | Showing scale, context and how a product is used | Distracting surroundings can compete with the product |
Keep the original photo as well as your edited versions. A cut-out is a useful extra asset, not an automatic replacement for every other product image.
2. How to make a transparent background step by step
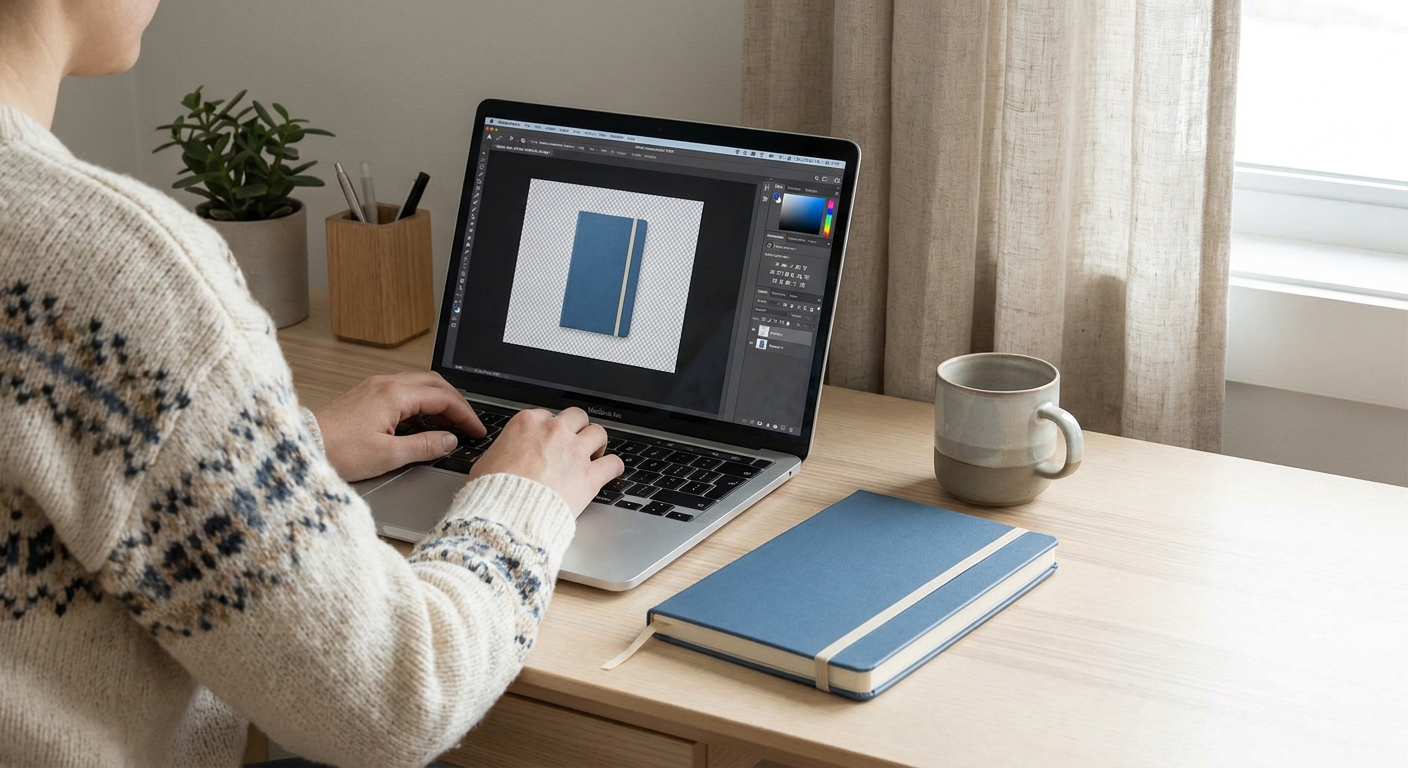
Start with one uncomplicated product rather than your entire catalogue. An opaque object with a clear outline, such as a notebook or storage tin, makes it easier to understand the process and spot errors.
Choose a photo with a clear subject
Use the original camera file where possible, rather than a screenshot or an image downloaded from a messaging app. You want enough detail to inspect the product edges and any small printed information.
Look for even lighting, sharp focus and visible separation between the product and its surroundings. A pale object against a pale wall, for example, gives a removal tool less visual information about where the object ends.
If you are taking a replacement photo, place the product against a simple, contrasting surface. Leave space around the outline, and avoid cropping off corners, handles or straps before editing.
Follow this removal workflow
- Save an untouched copy. Keep the original in a separate folder so you can return to it later.
- Upload the chosen photo to a background-removal tool. Check that you have permission to use the image, especially if someone else supplied it.
- Generate the cut-out. Treat this as a first pass rather than a finished listing image.
- Inspect the whole outline. Look for missing product parts, leftover background and unnatural edges.
- Download a transparent PNG. Avoid switching to JPEG if you still need transparency.
- Test it on contrasting backgrounds. Place it over white, dark grey and a colour you actually use in your marketing.
Do not judge the result only from a small preview. Open the downloaded file at full size, then view it at approximately the size a customer will see it.
If the source photo is too soft or cluttered, a quick reshoot may take less time than trying to repair a poor cut-out.
3. Check difficult edges without changing the product
Background removal should change the surroundings, not what the buyer believes they are purchasing. An attractive image is not useful if it hides wear, removes part of the item or changes its apparent shape.
Work around the outline systematically. Start at the top and move clockwise so you do not repeatedly inspect the obvious areas while missing a small handle or opening.
Look for these common problems
Pale halos: A thin strip of the original background can remain around the product. It may disappear against white but become obvious on a dark website banner.
Missing holes and gaps: Mug handles, basket weave and spaces between components may retain patches of background. These areas belong in your quality check even though they sit inside the outer outline.
Lost fine detail: Fringes, bristles, fur and thin straps can look clipped or unnaturally smooth. Compare them directly with the original image.
Transparent and reflective materials: Glass, clear packaging and polished metal are harder cases because their appearance includes light and reflections from the surroundings. Removing the background cannot necessarily reconstruct how they would look in a different setting.
For a clear glass vase, a carefully photographed plain background may produce a more believable listing image than an isolated cut-out. If you sell small reflective items, the guide to photographing jewellery for selling online can help improve the starting shot.
Also check shadows. Removing a background can remove the shadow that made the product feel grounded. If you later add a subtle shadow in a design editor, keep it consistent and avoid making the item appear to float or changing its perceived shape.
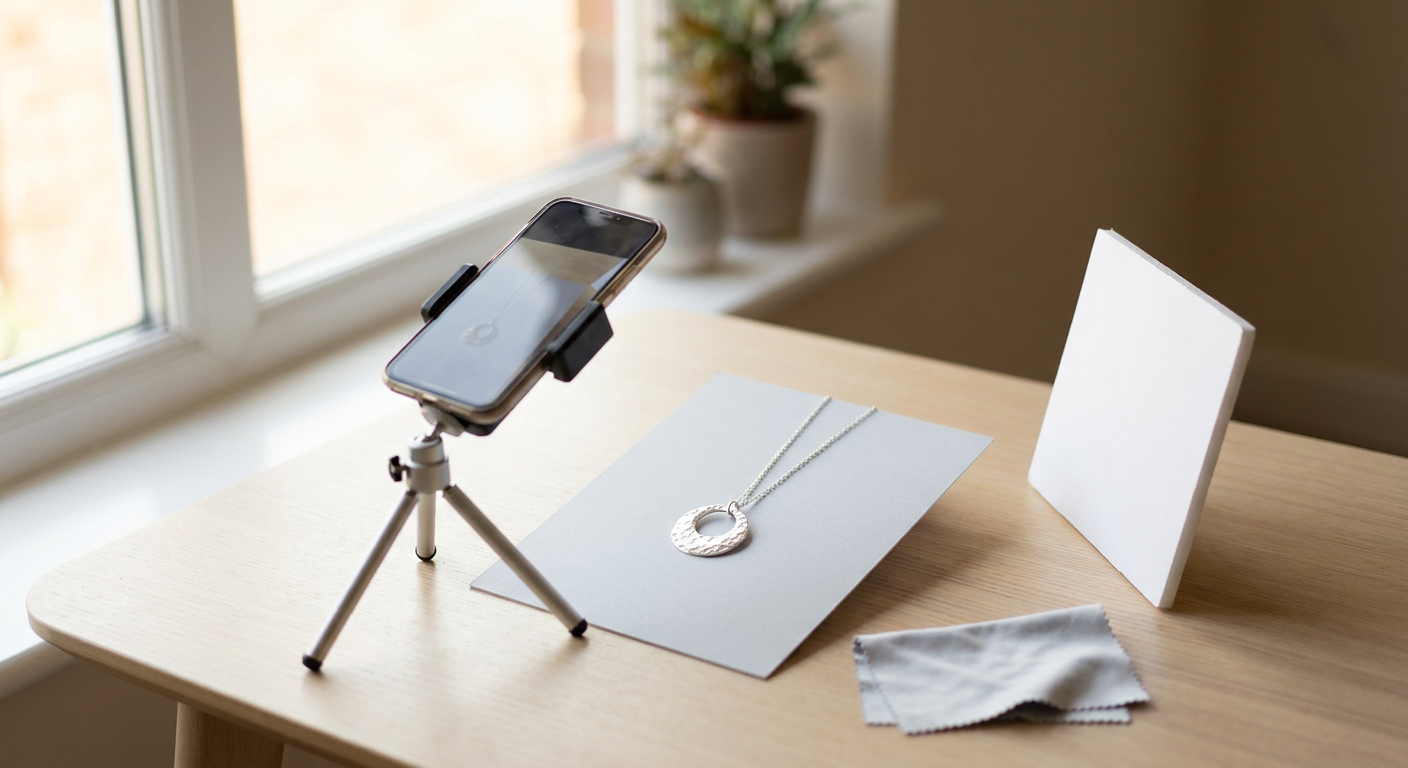 Related guideHow to Photograph Jewellery for Selling Online: A Budget-Friendly Guide
4. Build a reusable product-image workflow
The biggest practical benefit is not simply having one cleaner photo. It is having a reliable master asset that you can reuse without cutting out the same product again.
Imagine a small stationery seller preparing images of a blue notebook. The original photo shows the notebook on a wooden desk, which works for a lifestyle image but clashes with the shop's pale background.
The seller creates a transparent PNG, checks that the elastic strap and page edges remain intact, and saves it as the master cut-out. From that file, they prepare three separate versions: a white-background listing image, a coloured social post and a website collection graphic.
This is an illustrative workflow, not a promise of more sales. Its value is reducing repeated editing while keeping the product presentation consistent.
Separate the master file from finished designs
Use clear file names such as blue-notebook-original.jpg, blue-notebook-cutout.png and blue-notebook-shop-white.jpg. Keep finished designs in a different folder from source images so you do not accidentally overwrite your best version.
When placing multiple products on a shop grid, use consistent canvas dimensions, margins and visual scale. Do not enlarge a small item so much that it appears comparable in size to a much larger product without giving customers clear dimensions elsewhere.
Before publishing, run this short checklist:
- The product colour, shape and visible condition still match the original.
- No handles, straps, corners or accessories have disappeared.
- The background suits the destination's current image requirements.
- The product remains clear on a mobile-sized preview.
- The exported file opens correctly and is not unnecessarily large.
Check each marketplace's current requirements rather than assuming transparent images are accepted everywhere. For website use, also add descriptive alt text focused on the product, not the editing process.
5. Where Pitanga Labs fits
Pitanga Labs' Remove background from a photo tool creates transparent PNG cut-outs. It can help with the isolation step when you want to reuse a product photo without carrying its original surroundings into every design.
A practical approach is to process one representative photo first, then inspect its outline using the checks above. If the result suits your needs, repeat the workflow for similar products while keeping a consistent review standard.
Background removal and resolution are separate problems. A clean outline will not make a blurry label readable. If you need a larger image, the AI Image Upscaler offers 2x or 4x upscaling and batches of up to five files.
Compare any upscaled result with the original, especially around lettering, patterns and textures. A larger file is not proof of more accurate detail, and a fresh photograph remains the better choice when important product information is unclear.
Conclusion
A transparent background makes a product photo more flexible, but the quality of the original and your final checks still matter. Start with a sharp image, preserve the real product details and save a transparent PNG master before creating destination-specific versions.
Choose one straightforward product photo today and run it through the workflow. Test the result against light and dark backgrounds, then build one finished listing image. Once that process works, you can apply it consistently across the rest of your catalogue.
FAQ
Why does my transparent background look white?
Some viewers display transparent areas as white. Place the file over a coloured background to check. If a white rectangle remains visible, the file may have been flattened or exported without transparency.
Can I save a transparent product photo as a JPEG?
No. JPEG does not support transparency. Keep a PNG master, then export a separate JPEG with a solid background when your listing or website needs one.
Can I remove the background from any product photo?
You can try, but results vary. Sharp, opaque objects with clear outlines are easier than glass, reflective surfaces or fine fibres. For difficult products, a better source photograph may be the most reliable solution.
Was this guide useful?
Your answer shapes which guides we write next.
Keep it in your dashboard
Sign in to save this guide, add it to a learning path or turn it into a checklist.
Sign inShare this guide
Discussion
Sign in to join the discussion.