How to Restore Old Photos with AI Without Losing Their Character
Learn how to digitise, repair and check old family photos with AI while preserving original details and avoiding overprocessed results.
· 7 min read
On this page1 / 7
In 30 seconds
- Start by identifying what matters most in the photograph.
- Better input gives you a stronger starting point.
- Work from the least altered copy you have and make one main restoration attempt first.
An old family photograph can be irreplaceable, even when it is faded, scratched or torn. The challenge is making it clearer without changing the face, clothing or background that makes it meaningful. Learning how to restore old photos with AI starts with a good digital copy and ends with careful checking—not simply accepting the most polished result. This guide explains how to prepare your photograph, choose sensible repairs and spot invented details. You will also learn when to keep damage rather than push an edit too far, and how to save versions for sharing, printing or a family archive.
1. Decide what you want to preserve before repairing anything
Start by identifying what matters most in the photograph. That might be a relative’s expression, the texture of a wedding dress, a handwritten inscription or the shopfront behind a group of people. These details should guide your decisions throughout the restoration.
Next, separate damage from the photograph’s original appearance. A scratch across a cheek is damage; film grain, soft focus and period lighting may be part of the image. Removing everything that looks imperfect can leave a historical photograph looking strangely modern.
Set a simple restoration brief
Write a short description of the result you want before using any tool. For example: “Reduce the central crease and improve faded contrast, but preserve the facial expression, original framing and black-and-white appearance.” This is a decision checklist, whether or not the tool accepts written instructions.
Use the following distinctions to keep your expectations realistic:
| What you see | Sensible aim | What to watch for |
|---|---|---|
| Faded contrast | Make existing features easier to see | Dark clothing becoming a featureless block |
| Surface scratches | Reduce distracting marks | Nearby texture being replaced incorrectly |
| A tear across a face | Try a cautious repair | Reconstructed features that change the person |
| Soft focus | Improve perceived clarity modestly | Artificial eyelashes, teeth or hair strands |
| Missing corners | Preserve the remaining scene | Invented objects presented as original details |
AI photo restoration can create plausible-looking replacements for missing information. That is not the same as recovering what was actually there. Treat heavily reconstructed areas as interpretations, especially when the photograph has documentary value.
2. Make a clean digital copy of the original
Better input gives you a stronger starting point. If possible, digitise the original print rather than a screenshot, a compressed messaging attachment or a photograph of an existing photocopy. Every extra copying stage can hide useful detail.
A flatbed scanner is often convenient for loose prints in stable condition. Use its photograph setting, check that the whole image is captured and save a high-quality file. Avoid aggressive automatic sharpening or repair during capture so you have an unaltered reference.
If you only have a phone, you can still make a usable copy. The priorities are even lighting, accurate focus and keeping the camera parallel to the print.
A quick capture checklist
- Place a stable, loose print on a clean, flat surface away from direct sunlight.
- Use soft, even light and turn off the flash to reduce reflections.
- Hold the phone directly above the photograph, keeping its edges parallel to the frame.
- Check that your shadow and the phone’s reflection are not visible.
- Take several shots and inspect faces and fine details before choosing one.
- Save the best capture unchanged, then make a separate working copy.
Do not force a curled photograph flat or pull a fragile print out of an album. Avoid applying household cleaning products. If the photograph is stuck to glass, flaking or badly damaged, consult a photographic conservator before handling it further.
Capture the back too if it contains names, dates or a studio stamp. Keep those notes alongside the image rather than relying on memory. For family history projects, knowing who appears in a photograph can matter more than removing every scratch.
3. How to restore old photos with AI: a careful workflow
Work from the least altered copy you have and make one main restoration attempt first. Repeatedly processing the previous result can compound mistakes, making invented details look increasingly convincing. If the first attempt is unsuitable, return to the clean capture rather than treating the altered image as your new original.
Before uploading family photographs to any online service, review its privacy information and upload terms. Consider whether the image includes sensitive material or whether living relatives would be comfortable with its use. Keep your own backup regardless of which service you choose.
Example: a faded family portrait with a crease
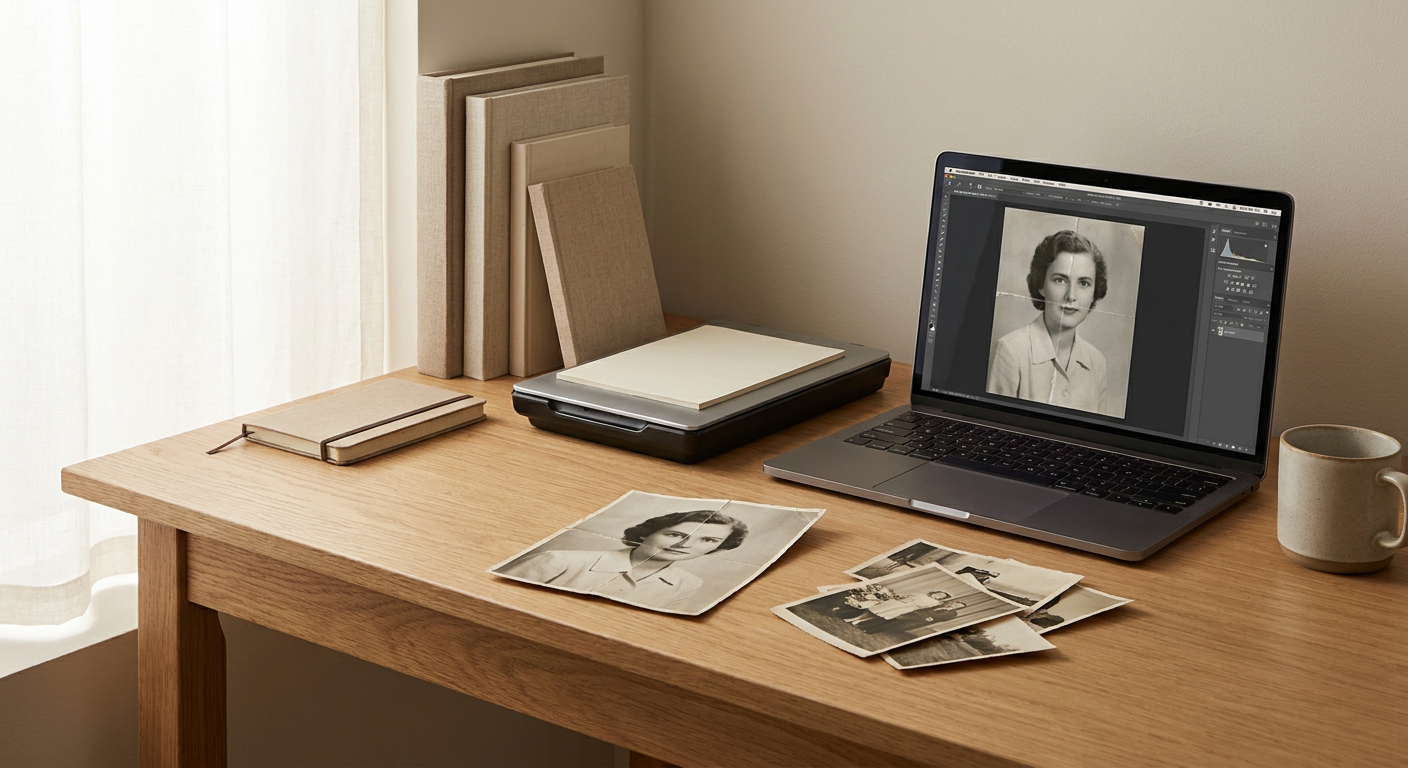
Imagine a black-and-white portrait with pale contrast and a fold running through a jacket and one side of a face. Your goal is a clearer copy for a family album, not a completely rebuilt portrait.
First, capture the print with even lighting so glare does not add another bright stripe. Save that capture untouched. Then create a restored version and compare the crease repair separately from the overall contrast improvement.
The jacket repair might look convincing while the face looks subtly different. In that situation, do not accept the whole result just because the fold has disappeared. Keep the original capture as your reference and, if available in your editing workflow, apply only the repairs you trust.
A lightly damaged but recognisable portrait is usually a better family record than a flawless image of someone who looks different. If you cannot obtain a trustworthy repair, keep the more conservative version and explain the remaining damage.
 Related guideHow to restore old family photos
4. Check the result before colourising, sharing or printing
Review the original and restored versions side by side at the same size. Start with the full photograph, then inspect important areas closely. An image can look impressive on a phone while containing obvious errors when enlarged.
Pay particular attention to identity and context:
- Faces: check eye shape, mouth position, apparent age and expression.
- Hands and accessories: look for changed fingers, jewellery, buttons or glasses.
- Text: compare signs, uniforms and handwritten marks against the original.
- Backgrounds: watch for altered windows, furniture or objects near repaired damage.
- Texture: check that skin and fabric have not become unnaturally smooth.
Ask someone familiar with the person to review the result when possible. Their recognition is useful, although it does not prove that reconstructed details are accurate. If you have another photograph from the same period, use it as a reference rather than asking AI to guess.
Keep colourisation separate from restoration
Repairing damage and adding colour solve different problems. Colourisation interprets likely colours; it cannot establish the original shade of a dress or wallpaper from a monochrome image alone. Keep a restored black-and-white version even if you also make a colourised copy.
For printing, check the final image at the intended size. Increasing pixel dimensions does not guarantee authentic detail, and sharpening cannot fix an incorrect face. The guide to increasing image resolution for printing explains how to judge enlargement without expecting more than the source can provide.
Use clear filenames such as family-portrait_original-capture, family-portrait_restored and family-portrait_colourised-interpretation. Save a high-quality master separately from smaller sharing copies, and keep another backup in a different location.
5. Where Pitanga Labs fits
Pitanga Labs Restore Old Photos costs 3 credits and offers an AI-assisted option for old-photo restoration. It can help you try a repair without starting with a complex manual retouching workflow. The useful outcome is a version you can assess against your original—not a reason to skip that comparison.
Choose one representative photograph first, especially if you have a whole album to process. Check whether the result preserves the details that matter before spending credits on more images. Damage type, capture quality and the amount of missing information all affect what is practical.
If your aim also includes a colour version, Colourise Black & White Photos is a separate tool costing 3 credits. Use it after deciding which restored monochrome version you trust. Label the colour result as an interpretation when sharing it with relatives or adding it to a family archive.
Conclusion
Restoring an old photograph works best when preservation comes before polish. Make a clean digital copy, keep the original capture untouched and check every repair that could change a person’s identity or the scene’s meaning. Treat colour and reconstructed details as interpretations rather than recovered facts. Start with one photograph in Pitanga Labs Restore Old Photos, compare the result carefully and save clearly labelled versions. You can then decide whether to restore more of the album with a process you trust.
FAQ
Can AI restore a badly damaged old photo?
It can help reduce visible damage, but missing areas may be reconstructed inaccurately. Tears across faces and large missing sections need particular caution. For valuable originals, consider advice from a photographic conservator.
Is it better to scan or photograph old photos?
A flatbed scanner often makes even, sharp capture easier for stable loose prints. A phone can also work well if you avoid glare, keep the camera parallel and check focus. Do not damage a fragile print to scan it.
Can AI restore old photos without changing faces?
It may preserve faces well, but this is not guaranteed. Compare facial shape, expression and age against the original. If a repair changes the person’s appearance, keep a less altered version rather than accepting extra sharpness.
Was this guide useful?
Your answer shapes which guides we write next.
Keep it in your dashboard
Sign in to save this guide, add it to a learning path or turn it into a checklist.
Sign inShare this guide
Discussion
Sign in to join the discussion.